Saturday, September 25, 2010

WINNERS OF BLOG HOP!

Thanks to everyone who participated in our Blog Hop!!
Our designers did an amazing job!
The winners using random.org are:
Monica Merkel
Sandra Bonagura
Joyce Gutridge
Karen Stark
CONGRATULATIONS!

Sunday, September 12, 2010

Blog Hop Day 1 NEW StampingScrapping Designs Stamps

Welcome to StampingScrapping Designs New Stamps Blog Hop!
Our Stamps are Spellbinders™Nestability™ compatible.

  Check out the new projects posted each day by our designers
& leave a comment on every post by 12 a.m. PST
on the same day on each designers blog.
4 Lucky winners will win their choice of one of the newCelebrations stamp sets.

Sept 16th Stephanie http://www.mycardshack.blogspot.com/
Sept 17th Mindy http://www.scrappyandpiggy.blogspot.com/
Sept 18th Leanne http://createdbyleanne.blogspot.com/
Sept 19th Vivi http://handmadebyvivi.blogspot.com/
Sept 20th Billie http://www.billiesscrappetique.blogspot.com/
Sept 21st Sheri http://twitterpatedwithpaper.blogspot.com/
Sept 22nd Cindy 2 http://bluebirdflats.blogspot.com/
Sept 23rd Anary http://www.anaryatelie.blogspot.com/

Check out my YouTube Video on how I custom colored the Flower and Ribbon
for my card.

Here is how I created my card:

I used Forever Violet Perfect Pearls, Mini Misters, Tim Holtz Distress Reinker in Dusty Concord.
to custom color the ribbon and Tim Holtz Tattered Florals Die flowers. See my YouTube for exact directions.

I used Tim Holtz Distress Pads in Dusty Concord and Wild Honey along with the Ink Blending Tool to add color to my flower and my tag.
Stamp Can be used as a template for Stickles, Pearls, or Rhinestones.
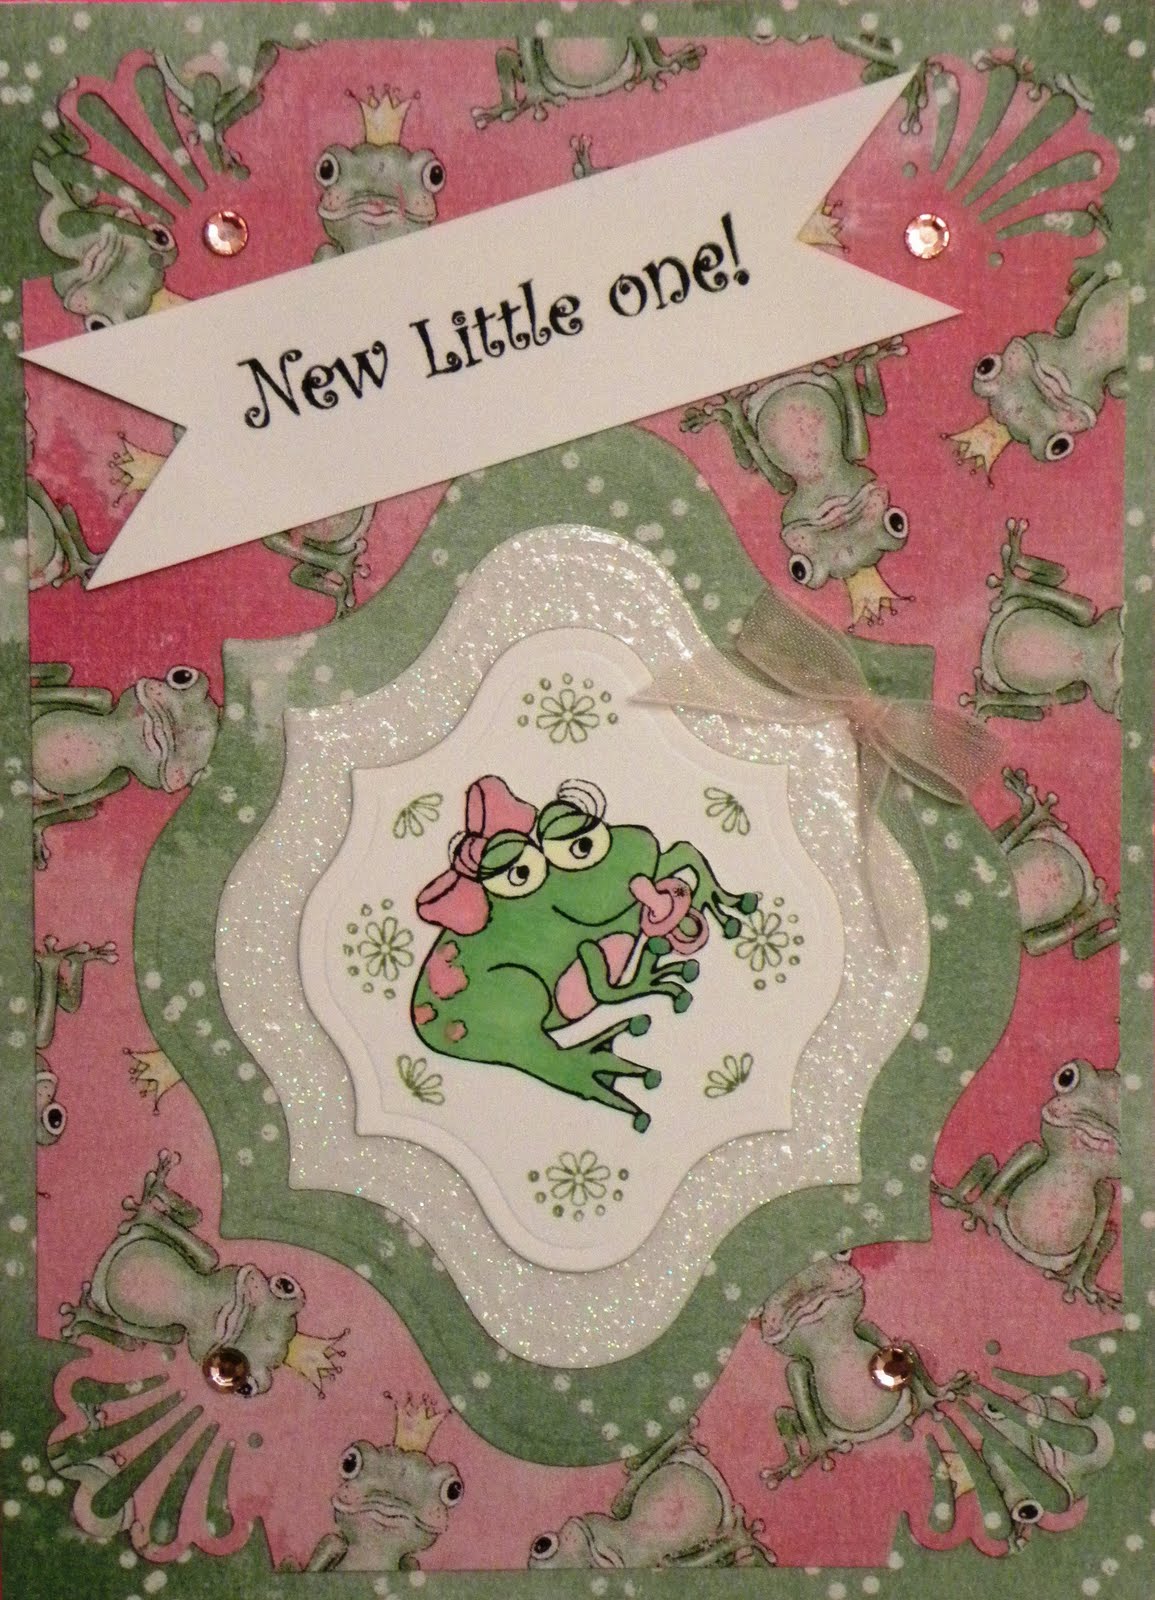
I used my new stamp set Congratulations stamp with Spellbinders™ Labels 11 
I used the Mummy and Happy Halloween on my tag from my new stamp set Holidays.  I used the Stitch Piercer and Karen Fosters Floss in Midnight to sew the ZigZag on my card.

Finished sewing
A close up of the shimmer from the Perfect Pearls shimmer paint technique in my YouTube.  I also used the Copic Spica pen in Silver to outline my Mummy. 
My finished card!
I used the Black glitter dots and Black pearls for accents.
Leave me a comment to be eligible to win your choice of one of
Happy Creating!!!!

Wednesday, September 8, 2010

COME HOP WITH US

FROG HOP....I MEAN BLOG HOP
Be here next Monday September 13th to see Projects created
with my new Spellbinders™Nestability™ matching stamp sets!

4 Lucky winners will win their choice of one of the new stamp sets!
Simply leave your comment on EACH blog each day.  You will
have until Midnight EST of the same day to post your comment.
On September 24th we will randomly draw 4 lucky winners to
receive their choice of a new set of stamps!


Friday, June 11, 2010

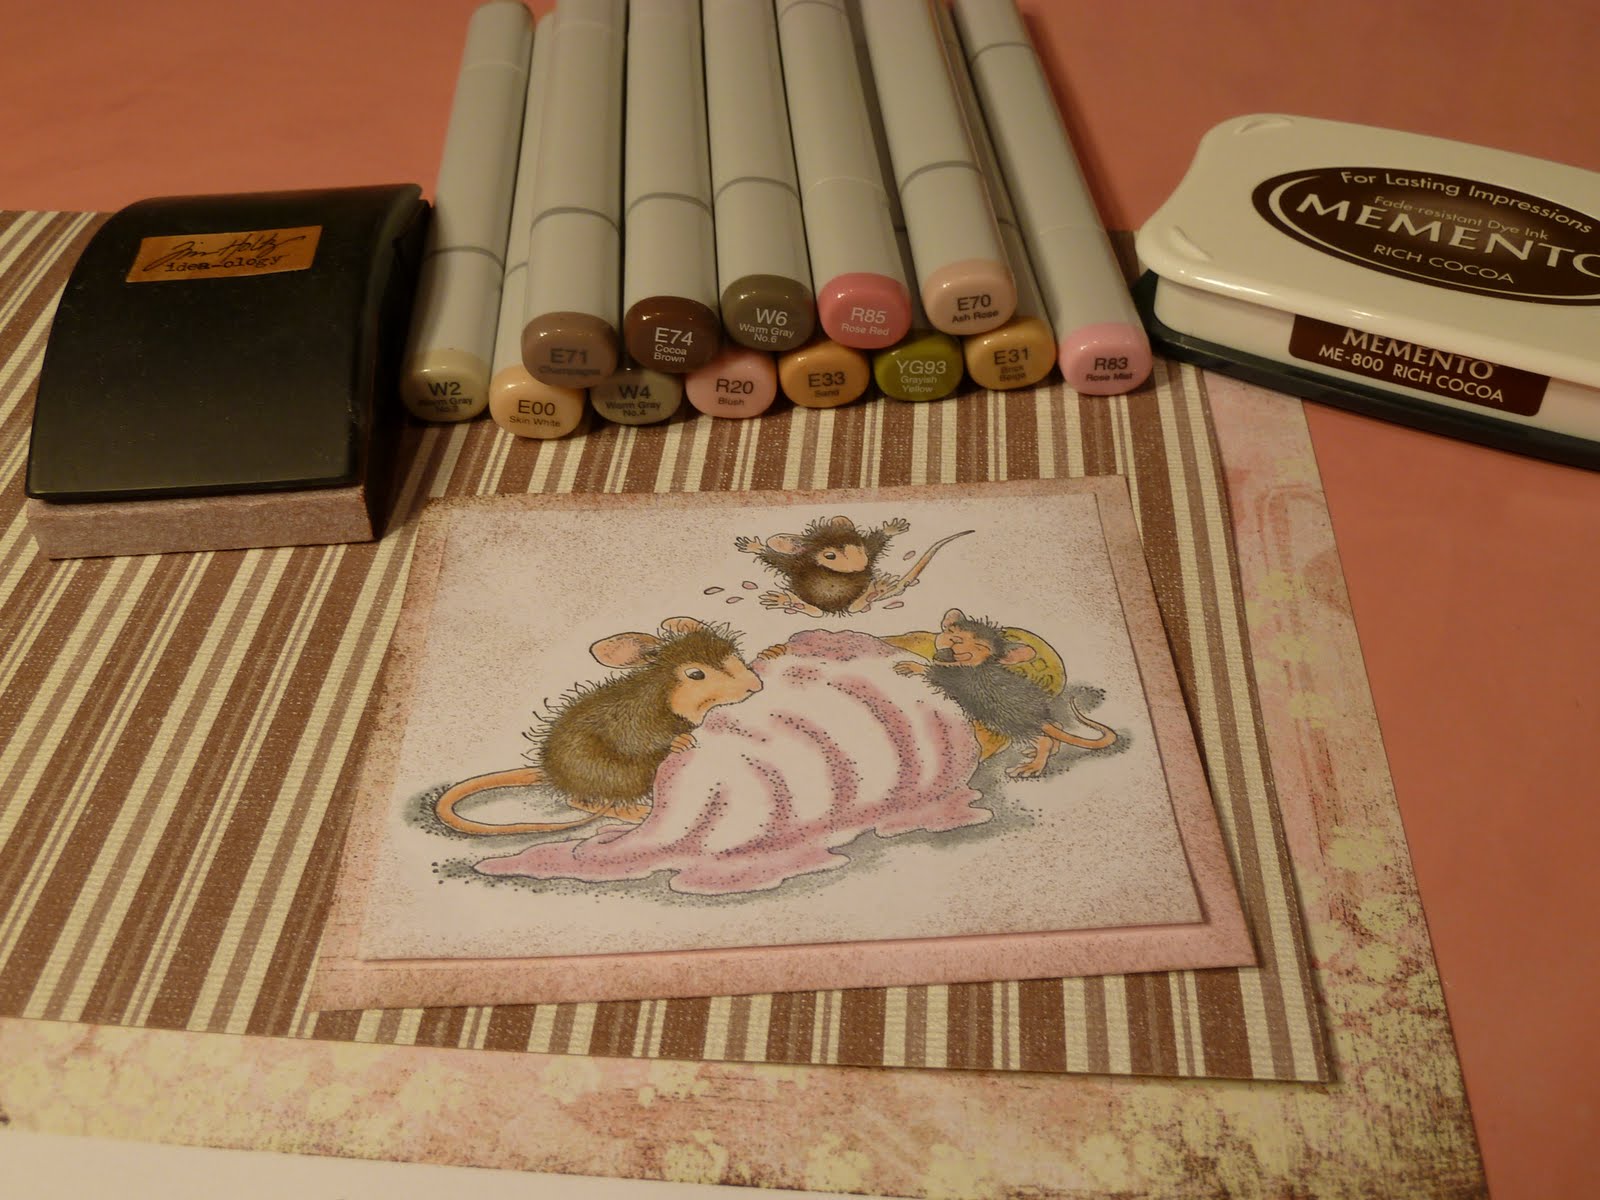
House Mouse, Copics, Glue Glider, Core'dinations Easel Card


I cut my Core'dinations Cardstock and sanded with the Tim Holtz Sanding Grip and punched with the MS daisy edge punch.

Colored my House Mouse Stamps with Copics and used a piece of sponge to dab Memento Rich Cocoa around the edges

Use the Martha Stewart Daisy Punch around the Page corner punch and put together with my Glue Glider Pro

This is my finished easel card!

Tuesday, May 25, 2010

TIM HOLTZ, KEVIN AND CINDY

We spent a private day with just 18 of us and Tim Holtz
He is so AMAZING! 
We learned so much we will teach and share with you!

Wednesday, May 12, 2010

Alcohol Ink Resist on Metal with Tim Holtz Texture Fades

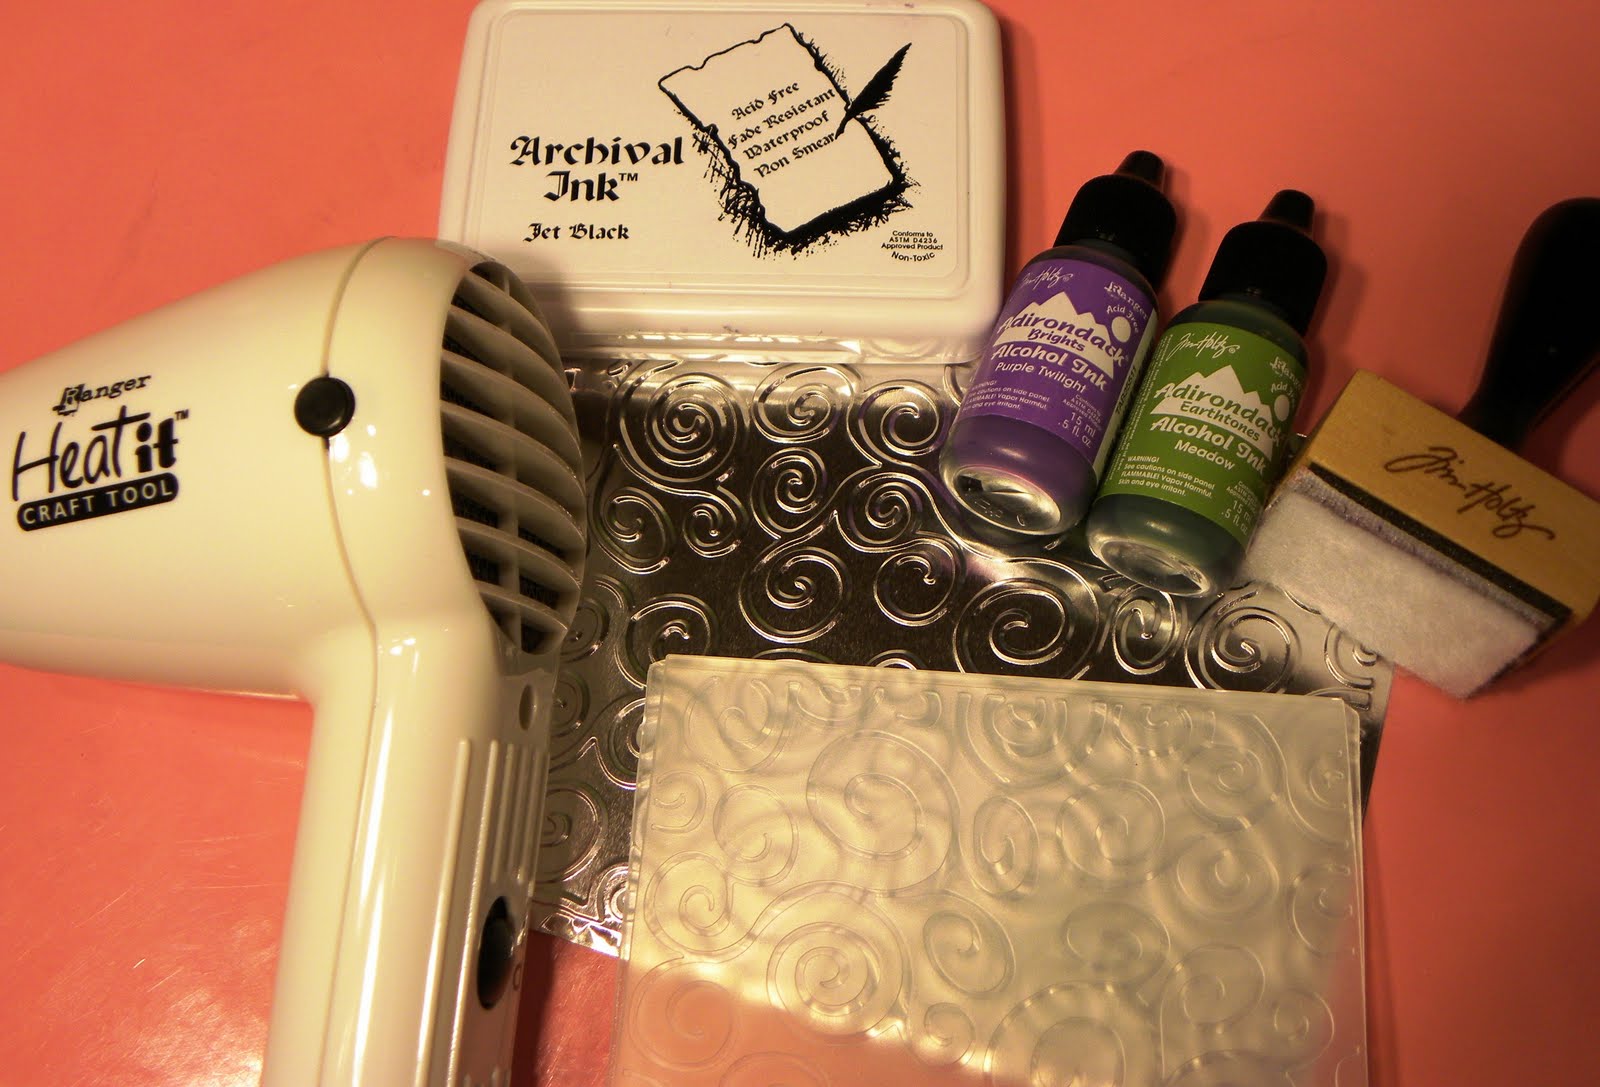
Products Used:
Emboss using Craft Metal in your desired Tim Holtz Texture Fades
I used Meadow & Purple Twilight Alcohol inks
Using the Alcohol Ink Applicator tool and a piece of felt
insert the nib of the alchol ink into the felt and squeeze different
colors on different areas of the felt.
Stamped well inked tool over your embossed metal surface.
You may add or layer additional colors or use lots and blow gently
for a mottled effect.  Use Heat it Tool to dry ink.
This is what it looks like with the two colors I used
The final step in Alcohol Resist is taking the
 Ranger Archival Ink in Jet Black swipe pad across the raised areas. 
This removes the alcohol ink and returns the raised parts to silver. 
NOTE:  This ONLY works with the Archival Ink.
 You may need to gently wipe the raised surfaces with a cloth.
The results are stunning and the colors are so bright!  I love
the New Texture Fades because they create a high detailed embossed
image into paper or metal.

Wednesday, March 10, 2010

Burnished Velvet, House Mouse, Copics

I created this adorable card with the New House Mouse Flower Bed Stamp, Copics, Doily Lace deep edge Marth Stewart Punch, & Burnished Velvet Technique using Ritz Glitter & Be Creative Tape

Using the Doily Lace Martha Punch, I punched a Mask from the Be Creative Tape using the cover that you peel off to expose the sticky. (Be Careful NOT to touch any of the sticky part of the tape)

I used the 1 1/2" Tape. I also cut a very thin strip for a border


I laid my Doily Lace mask and the thin strip back on the sticky part of the tape. Again make sure NOT to touch the tape.... then carefully (I use tweezers) make sure your mask is stuck down well so no glitter can seep under your mask.

Sprinkle your Ritz Glitter then brayer over it to make sure its stuck down well.

When you remove your mask it exposes the other area of sticky. It shows your pattern for your 2nd color. Note: Make sure to do your darkest colors first always with this technique


I added my 2nd color of Moss Green. I removed my single line strip and use the Cool Highlight color which is a beautiful white for the strip The Photo does not do this justice. Ritz is a beautiful micro fine glitter and the Burnished Velvet is gorgeous with three colors.

These are the copic colors I used for the House Mouse coloring


I used the rectangle scalloped Nestabilities and  Eclipse Tape to tape down before running thru the Cuttlebug. This way I get my image cut in the center perfectly.


I did not have the perfect matching ribbon so I used white ribbon and my YG67 and colored my own. 
I used the Bow Easy to make my bow.


Then using my Copics I colored the Making Memories Deco Pins


After I colored them with my Copics

Sunday, February 21, 2010

Post It Purse, Sizzix, Smooch, Basic Grey Magnets

Using my Big Shot Express
Mat Board or Chip Board works perfectly

After cutting both the Chipboard
and paper, I used my Zyron to adhere it together.
Yes, the cute little flowers are part of the die.

I stacked the flowers together then found a cute little
brad for the center. My favorite storage for little
embellishments is Scraponizers Snap lock minis

Using Smooch Cherry Chocolate I put a dot of
purple in the center of the brad in the flower
then on the memo holder in the center of the flowers.

I finished it off using Basic Grey
Self Adhesive Magnetic snaps
I love them!
It took me less and 30 minutes to
complete this project!

Sunday, October 18, 2009

Design Team Project

I used Outlines, Swarovski Crystals, Spellbinders Fleur De Lis,
Classic/Scallop Circles, Martha Stewart Scalloped Combo 3 Dot punches, Coredinations papers and Scentiments Stamp Set.
All the Products I used
I punched the corners first then used the edger punch
I stamped in Memento Lady Bug Outlines Shiva Jewel
and then outlined in with Copic Spica pen in Red
I used my Quickutz Quickstick to pick up the jewels
and the Sakura Quickie glue pen to adhere them
Fast and Easy to do
I cut Fleur De Lis Spellbinders for my background
I really think it sets off the Shiva Ornament center.
The Swarovski Chrystals really set it off.