Showing posts with label JustRite. Show all posts

Wednesday, February 12, 2014

Sweet Valentines Justrite & Spellbinders Gift

 I am excited to share with you
my "Sweet" Valentine gift for my husband using Justrite Stamps & Dies!!!!

I call my Kevin Sweets so when I saw the JustRite Stamp set,
Home Bakery Labels, I knew immediately I was gonna have to
make a card and do something "SWEET" for him for valentines.


I used Spellbinders Tool n' One Paper Piercer with Layer Creator
to pierce my Red Card Creator Layer


 Here is what will be hanging on the wall when he comes home.
I took "Sweets" and wrote a poem to him inside the
card. The words in bold coordinate going clockwise around the heart.
Here is my Poem:

Sweets
At 15 I fell in love with you my Bit o Honey
You won me over with your Charms
All the other guys are Nerds and Runts compared to you.
I sure Skored when I fell in love with you.

You are my Lifesaver and my best friend!
You always help me out when Im in a Crunch and that
is just one of the many Riesens I love you!

I wouldn’t trade all our fun times together for 100 Grand
as every day with you is Mounds of fun!!!!

I love you to Pieces my Red Hot man!!!
Happy Valentines Day!
lots of Kisses
love your Hot Tamale
p.s. I will show you my Whoppers
if you show me your Whatchamacallet

Blog comment winner is Redwings 19 please contact me


Tuesday, February 11, 2014

Sunday, January 26, 2014

Spellbinders, Justrite & YUM!

I LOVE Valentines...so here are a few fun projects that are simple and fun!

First here is my Valentines gift idea for my friends.....
Mine are Gluten free since I figured if I had to make props I better be able to eat them :)

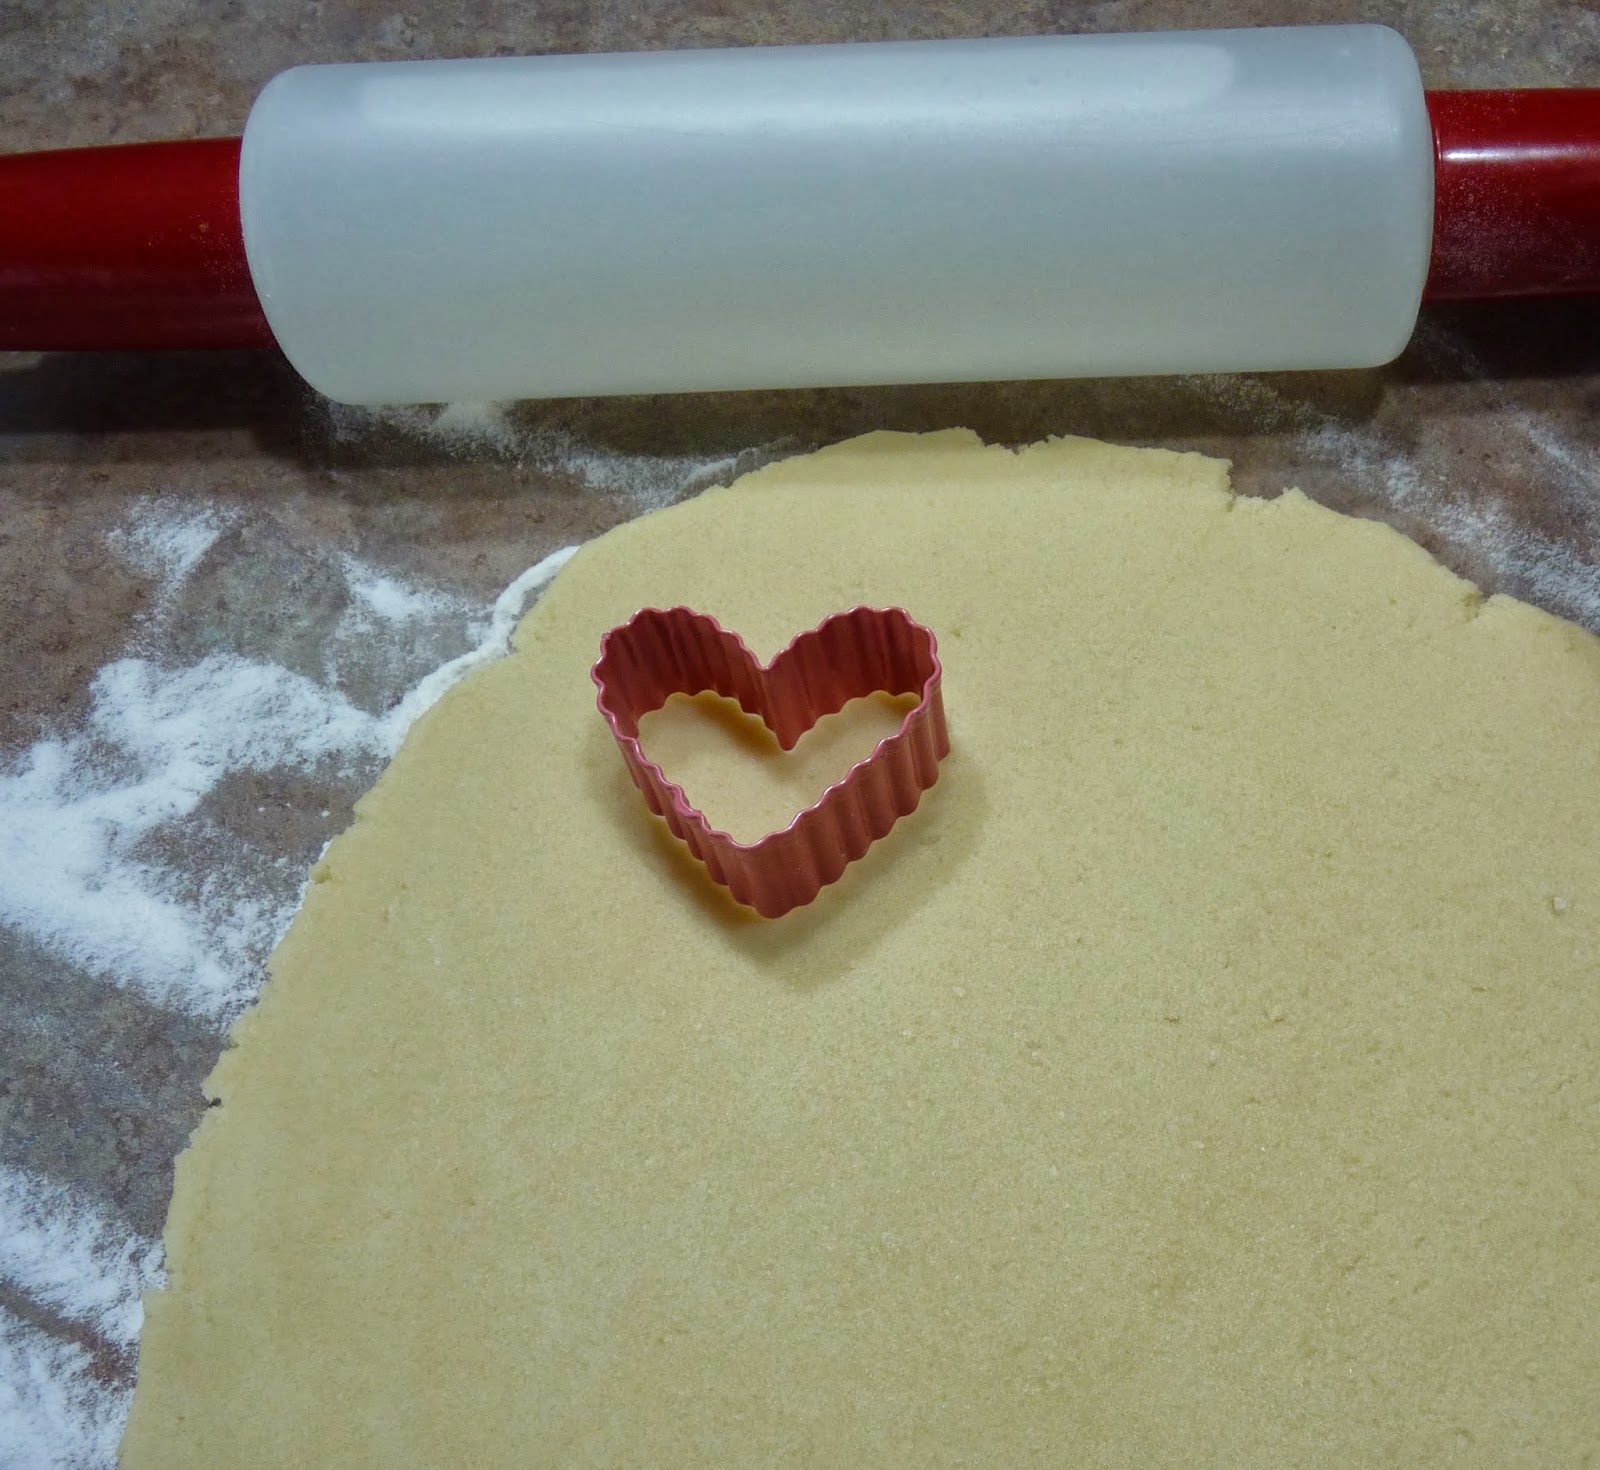
Take some Tulle and warp up a sugar cookie mix, frosting and tie your bow 
 then attach a pink cookie cutter.  
to do a label but they don't arrive for a week or so yet.... 
I will update the photos when they arrive...

 YUM YUM & I made homemade cream cheese frosting for mine


 So next is my paper tree using a clay pot, a 12 x 12 piece of paper, foam tape, ribbon,
Spellbinders Heart Dies and the NEW Justrite Sweet Heart Stamps
which I also used on my cards and frame on the left.
You can embellish the tree I used a really busy paper so I left it....
 Paint the Pot with red paint (I mixed in glitter)
Add foam tape around rim the roll paper to create tree shape
add another layer of foam for your ribbon to stick to and adhere ribbon

cut and emboss three Spellbinders hearts dies and stamp using Sweet Hearts Stamps
score all three in exact center of heart
apply adhesive to backside and stick them together to form a dimensional heart
add foam and lace to top of tree for this to nest into ALL FINISHED


Saturday, March 2, 2013

Spellbinders Explore Beyond Blog Frenzy Day 6

Hello Blog Friends
It's Blog Frenzy Time and I am so excited you are here!!! Today is my turn to show you
5 of the New Spellbinders Nestabilities Card Creator Dies!  I love designing these! It is
my Happy Place and truly an honor to be able to share these fun designs with you!
  I have used my Locking Loops, Floral Ribbon Threader, Distressed Edges,
along with Curved and Matting Basics A and B Dies to create my projects here.


First is my Locking Loops Card
I used all 5 dies in the set to create this card.
My finished Easter Card
Center of the card showing custom colored Pearls in center of smallest die in set
A close up of the detail in the Locking Loops Design
I USED THE E-6000 SPRAY GLUE to adhere all my layers!

 Supply List
  1. Spellbinders Nestabilies Card Creator Locking Loops S5-175
  2. Spellbinders Nestabilites Card Creator Matting Basics A S5-131
  3. Tim Holtz Dusty Concord Cardstock and Distress Ink
  4. My Minds Eye Fiddlesticks Cardstock
  5. Cindy Echtinaw Designs Clear Stamps Words and Typewriter for a chance to win this set see ***Below at bottom of Blog Post.
  6. JustRite Autumn Tags Clear Stamps
  7. Pearls and Copic Markers used to custom match them to my Cardstock.
  8. E6000 Spray Glue! I LOVE THIS NEW GLUE for intricate designs such as these you just spray and there is no mess, smell and it bonds beautifully! Available Mid March!

Note: As you can see I did not use the outermost die in this set to cut. I simply
cut the design without the outside cut die directly into my Curved Basics A dies.
My finished Card
A close up so you can see the detail and Metallic Pearl Paint


  Supply List
  1. Spellbinders Nestabilities Card Creator Floral Ribbon Threader S5-176
  2. Spellbinders Nestabilities Card Creator Curved Basics A S5-171
  3. Tim Holtz Spun Sugar Cardstock and Distress Inks
  4. Lucy Cromwell Cardstock
  5. Tim Holtz Metallic Pearl Paint 
  6. E6000 Spray Glue!

So now let's EXPLORE BEYOND with a FUN TECHNIQUE!
 This Card is made using the Distressed Edges Dies and Floral Ribbon Threader Dies
 My Finished Card uses the Scor Pal, Distressed Edges and the Flower from Floral Ribbon Threader Dies

Here is how I created the Pattern above.........
 
 Using the Scor-Pal score Cardstock every 1 inch. 
Turn paper and score again at every inch on diagonal.

 
Use the Flower from the Floral Ribbon Set inside each square.  Make sure to tape so you have the flower in the center of each square you choose before die cutting.
Take Dusty Concord Distress Marker and the Tim Holtz ruler and draw stitch marks on the score line.
Then die cut using the largest die from the Distressed Edges Set

By leaving Cardstock in the die it gives you a white crisp outside emboss line like this :)

 This is a closeup of the scoring, stitching, and flower cut outs.

Layer onto Seedless Preserves Cardstock using E6000 Spray Glue

 
Cut two of the rectangle dies from the Distress set (Largest in seedless, smallest in White)
Cut one flower outside from Floral Ribbon Die and Stamp SEW inside and draw stitches.
Stamp sentiment onto white Cardstock from Sew Sayings Clear Stamps.
Ink edges with Dusty Concord and add buttons to finish card.


*** BONUS DRAWING for a chance to win the Cindy Echtinaw Designs Stamp Set below, Please leave me a comment here on my blog as to which card above is your favorite or which NEW Card Creator Die is a must have for you. I will draw ONE lucky winner
on March 10 to receive my New Cindy Echtinaw Designs Words and Typewriter Stamp Set here
that I used on my Easter Card Above. 
CONGRATS CATHY R for your comment and winning
please contact me with your address to ship your stamps!
Thanks everyone for your comments!


Wednesday, April 27, 2011

Woodware & StampingScrapping Project

Join me on the StampingScrapping Designs Blog to begin our
Woodware U.S.A. & StampingScrapping Blog hop
10:00 p.m. EST 4/27
I will show you how I created this Ranger Products Swatch book

Tuesday, March 15, 2011

HOUSE MOUSE, COLOR ME, JUSTRITE, BASICGREY, COPICS, GRAND CALIBUR

I used the NEW House Mouse Stamp Sweet Sensation, Color me Flowers & Brads, Copics & the NEW JustRite Happy Everything kit...(this is my new favorite JustRite item) It comes with a block, dies, and many different sayings for inside...FUN!
Using my Grand Calibur from Spellbinders I cut and embossed all the dies on my card at once!
Here are the Copic colors I used to COLOR MATCH my
Card elements, flowers, brads and ribbons.
On the Mouse E33,E35, R11, R20 & N1 for shading
On the JellyBeans R27,YG21, & FBG 2 to match my
Using the Copic Airbrush system I sprayed my white ribbon,
 Color Me FlowersChrystal brads with R27,YG21, & FBG2