Showing posts with label spellbinders dies. Show all posts

Tuesday, February 24, 2015

Spellbinders Dies Birthday Card


I created this card using the following Spellbinders Dies
5 x 7 Grate Effects Die (Love this die its one of my favs!)
 (Love this way more than Scor Tape better value
and sticks better)
Crystal Katana used to adhere Rhinestones easily
Memento Tuxedo Black Pad
3L Foam Squares
WINNER IS GLOPBUG FOR COMMENTING
PLEASE CONTACT ME FOR YOUR PRIZE TO BE SHIPPED!

Sunday, June 23, 2013

Spellbinders Layered Card

Ornate Squares and Medallion 7 Spellbinders Dies were used.
I used Bitty Blossoms for Rose cut from a coffee filter!


Here is the Video to show you how I used the dies to layer this card.

Sunday, April 7, 2013

Spellbinders Shaped Dimensional Card

 I created this card using every size die in

Video below on how I created this card.
Leave me a comment for your chance to win
a set of All Dressed up Stamps
winner chosen on April 15th

Thursday, January 3, 2013

Spellbinders Sneak Peek of New Card Creator Dies


Welcome Friends! I am so excited to be taking part
in the Sneak Peek for Spellbinders.
As the licensed designer for these dies, it is my pleasure to introduce
the Newest Card Creator Dies!

Here is my first project I created with the new
Locking Loops Dies.

Be sure to read all the way thru for
 instructions and a video for creating this card.

Supply List:

Spellbinders A2 Locking Loops S5-175
Spellbinders A2 Matting Basics B S5-132 (Die #3)
Spellbinders Classic Squares Large S4-126 (Die #2)
Spellbinders M-Bossabilities EL-004 Imperial
Cindy Echtinaw Designs Spellbinders Matching Clear Stamps
Tim Holtz Distress Inks in Black Soot and Walnut Stain


I started with an A2 Black Card Base.  Then cut and embossed all dies
as listed in my Supply List
Layer Locking Loops dies as show onto A2 Card Base


Take M-Bossabilities Imperial folder and open flat. Lay
Spellbinders A2 Matting Basics B S5-132 (Die #3) in the die with cut side up
place a Tan embossing mat & Raspberry spacer plate over top and run thru Grand Calibur it will emboss the design inside but not the edges as shown


Take Distress ink and Ink blending
tool and ink over raised embossed design leaving card stock in die.


Take Distress inks and ink grosgrain white ribbon and attach to center of black ribbon using Scor-Tape. Feed ribbon thru Locking Loops Ribbon die then attach to
embossed piece. Use pop dots to attach to card front.


Stamp Sentiment onto Square Die and add pearls.
I colored my pearls using white pearls and Copic marker 100 .
This close up view shows the dimension to this card and the beauty of
the Locking Loops dies.


HERE IS THE STEP BY STEP VIDEO 
if you learn easier this way.
 Warning its a long one - 9 minutes :)


Here is another sneak peak of the NEW Beautiful A2 Rounded Corner Dies set A & B

Below my card is a video showing you how to use these
NEW Rounded Corner Dies to create the weaved
die in the center and how to use two of the D-Lites Medallion Two
dies to create the background for the weaved rounded corner piece.

A step by step instruction video
on how to make the card above.


Happy Creating!
Cindy


Saturday, April 14, 2012

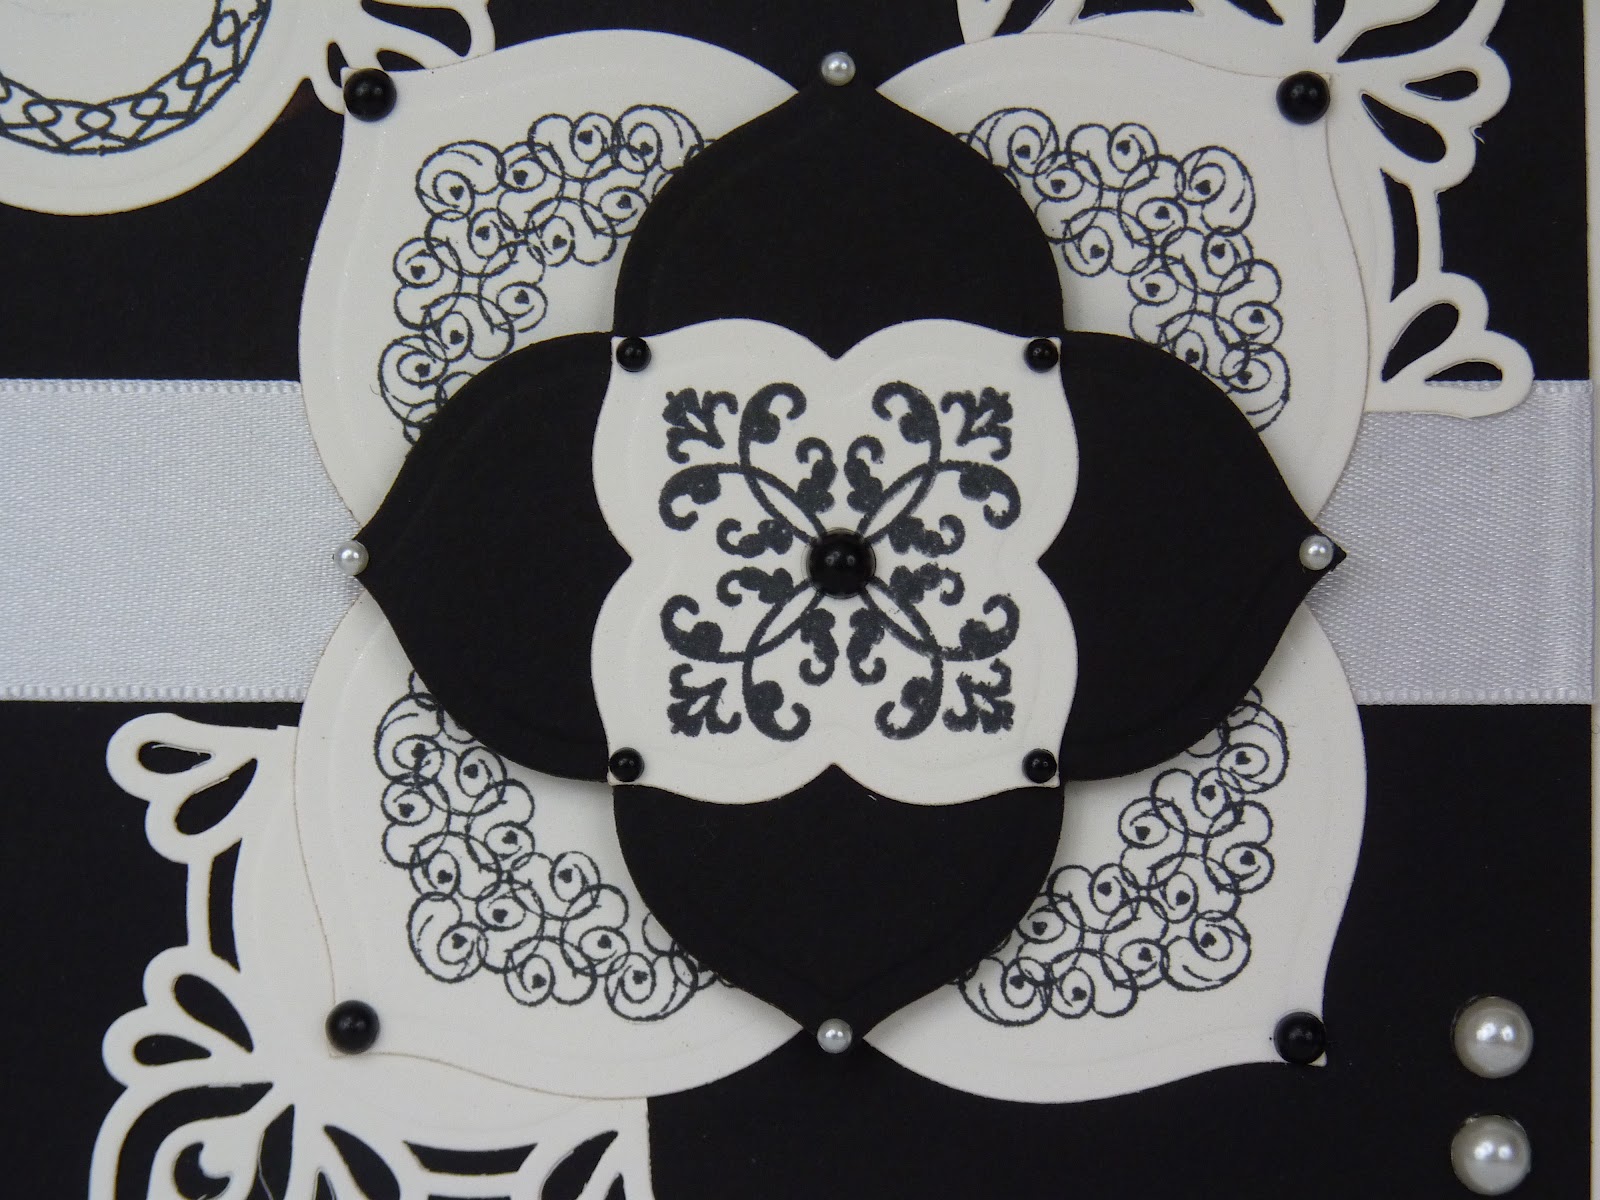
Spellbinders Persian Motifs, Labels 24 & My Stamps


Created Using Persian Motifs, Labels 24, Swirled Hearts & Frou Frou Stamps
Close up of Stamps
Close up of ribbon weaved thru Persian Edge


 Here is the You Tube showing How I created the Card
Leave me a comment before April 22nd
for your chance to win a set your choice of Persian Motifs
Or Spellbinders Swirled Hearts Stamps 
CONGRATULATIONS
SherylH
PLEASE contact me for your choice of Dies or Stamps for winning!